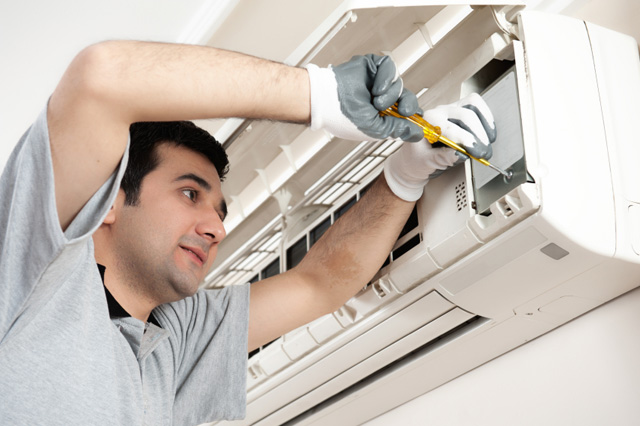
Installing a new air conditioning system is a significant investment that requires careful planning and professional expertise. A well-installed AC unit ensures optimal performance, energy efficiency, and long-term reliability. Whether you’re replacing an old system or installing a brand-new unit, understanding the installation process can help you make informed decisions.
If you’re considering a new system, professional Air Conditioning Installation Services ensure that your unit is installed correctly and operates at peak efficiency. Below is a step-by-step guide to the air conditioning installation process.
1. Evaluating Your Cooling Needs
Before installing an air conditioning system, a professional HVAC technician will assess your home’s cooling requirements. This evaluation includes:
- The size of your home
- The number of windows and their orientation
- The level of insulation
- The local climate
- The number of occupants in the house
This assessment helps determine the correct size and type of AC unit needed to maintain comfort and efficiency.
2. Choosing the Right AC System
After evaluating your cooling needs, the next step is selecting the best air conditioning system for your home. Common options include:
- Central Air Conditioning: Ideal for larger homes with ductwork already in place.
- Ductless Mini-Split Systems: Great for homes without ductwork or for cooling individual rooms.
- Heat Pumps: Provide both cooling and heating, making them energy-efficient year-round.
An HVAC expert will recommend a system that fits your budget, efficiency goals, and home layout.
3. Removing the Old AC Unit (If Applicable)
If you’re replacing an old AC system, the existing unit must be safely removed. This process includes:
- Turning off the power supply
- Safely handling and disposing of refrigerant according to environmental regulations
- Removing old components, including the air handler, condenser, and ductwork (if necessary)
Proper disposal of old equipment ensures compliance with local regulations and prevents environmental harm.
4. Preparing the Installation Site
Once the old system is removed, the installation area must be prepared. This step involves:
- Checking and upgrading electrical connections
- Ensuring proper ventilation and airflow
- Installing or inspecting ductwork to ensure there are no leaks or obstructions
If new ductwork is required, technicians will design and install it for optimal airflow and energy efficiency.
5. Installing the Indoor Unit
For central air conditioning systems, the indoor unit (air handler or furnace) is installed in a designated location such as a basement, attic, or utility closet. This step includes:
- Securing the unit in place
- Connecting the evaporator coil
- Installing the blower fan and filters
For ductless mini-split systems, the indoor air handler is mounted on a wall, and refrigerant lines are run through a small opening.
6. Installing the Outdoor Condenser Unit
The outdoor condenser unit is crucial for cooling efficiency. Installation involves:
- Placing the unit on a stable, level surface (usually a concrete pad)
- Ensuring proper spacing for airflow
- Connecting the refrigerant lines to the indoor unit
- Installing electrical wiring and a disconnect switch for safety
Proper placement and secure installation help prevent overheating and improve efficiency.
7. Connecting Refrigerant Lines and Electrical Wiring
Once the indoor and outdoor units are in place, technicians connect the refrigerant lines and electrical wiring. This process includes:
- Ensuring a secure and leak-free connection of refrigerant lines
- Vacuum-sealing the system to remove air and moisture
- Testing the refrigerant pressure levels for optimal performance
- Connecting the thermostat to allow precise temperature control
Proper handling of refrigerant is essential for safety and environmental protection.
8. Testing and System Calibration
Before completing the installation, the system must be tested to ensure it functions correctly. This step includes:
- Checking airflow and ductwork for leaks
- Measuring temperature output and refrigerant levels
- Ensuring the thermostat is working properly
- Running the system through a full cooling cycle
Any necessary adjustments are made to optimize efficiency and performance.
9. Final Inspection and Homeowner Education
The last step in the installation process is a final inspection and walkthrough. The HVAC technician will:
- Verify that all components are securely installed
- Ensure safety features are functioning properly
- Provide maintenance tips and instructions for operating the new system
Homeowners receive guidance on filter changes, thermostat settings, and energy-saving practices to maximize the system’s lifespan.
Conclusion
A properly installed air conditioning system improves comfort, energy efficiency, and long-term reliability. Following a structured step-by-step process ensures that the unit performs optimally and lasts for years. By hiring professional air conditioning installation services, homeowners can ensure a seamless installation with expert guidance and support. Investing in a high-quality AC system and professional installation will keep your home cool and comfortable throughout the hottest months.


